Upload Center Integration
Upload Center lets you import historical call recordings directly, without a telephony provider connected, so they run through CallVibe's AI pipeline for transcription, categorization, and sentiment. Unlike other providers, it has no credentials to connect — it's always available.
Required Files
- Audio file: MP3, WAV, M4A, AAC, OGG, or WebM, up to 15 MB per file
- For bulk import: a metadata CSV (filename, customer_phone, customer_name, agent_phone, agent_name, direction, start_time)
Setup
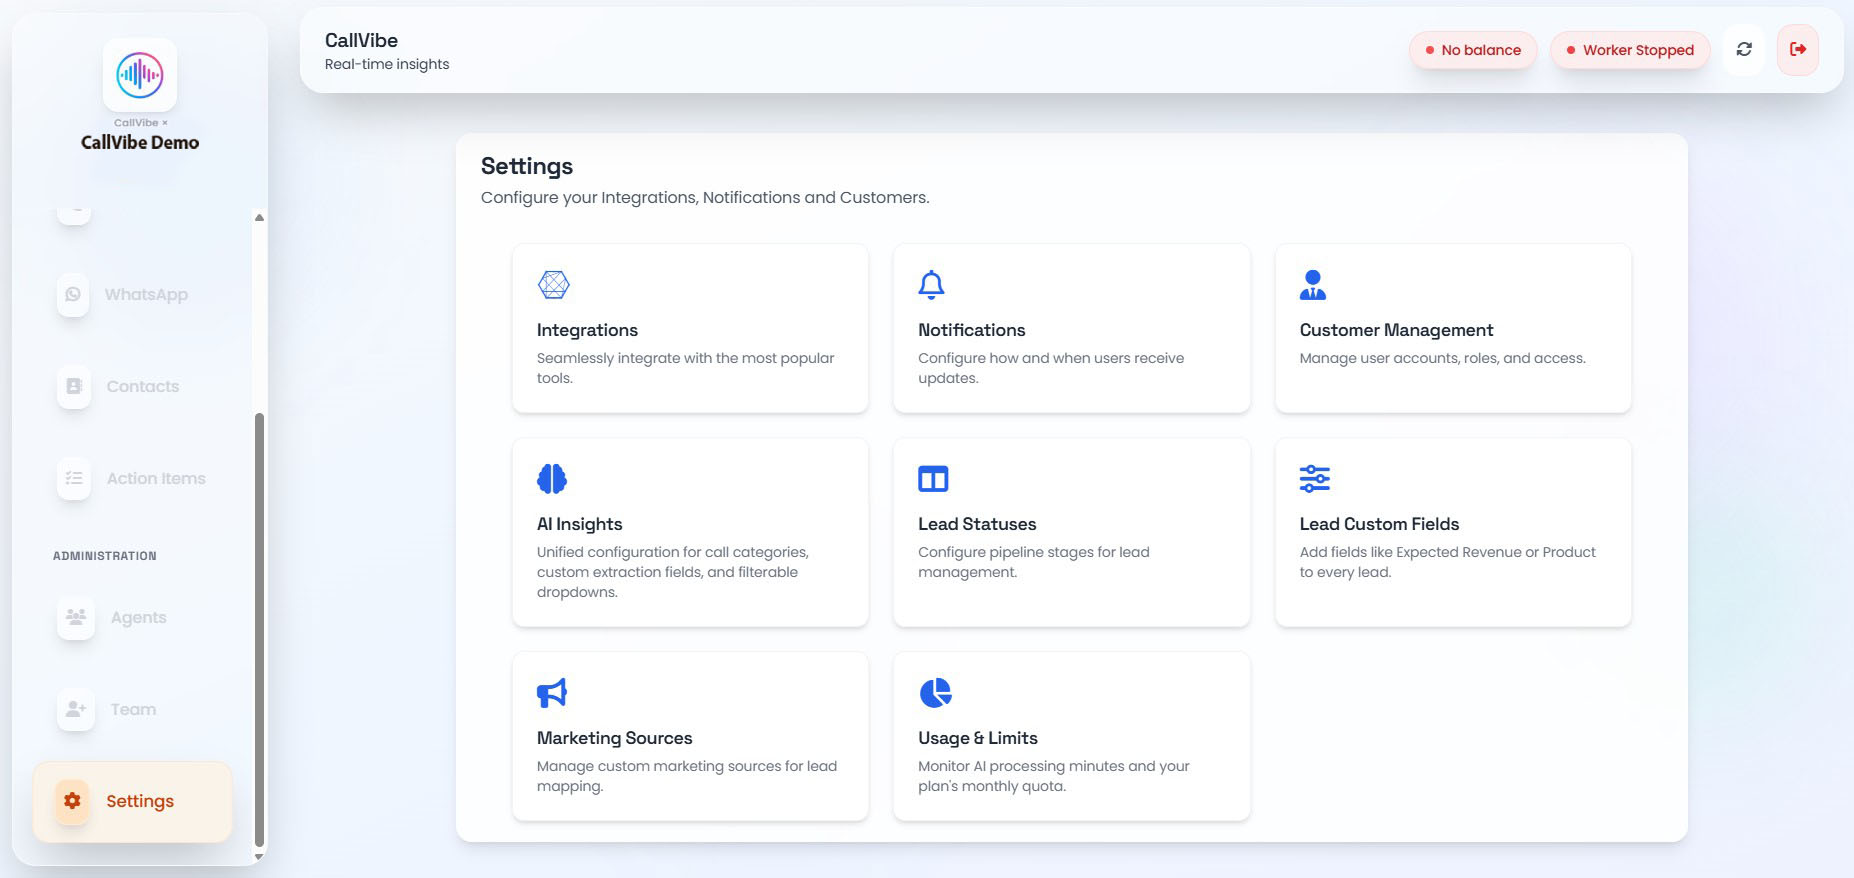
- Open Settings > Integrations.
- Select Upload Center.
- Click Open Upload Workspace.
Single Call Upload
- Drag and drop or click to select an audio file. Agent and customer details are guessed from the filename automatically and can be edited.
- Fill in Agent Name, Agent Phone, Customer Name, Customer Phone, Start Date & Time, and Direction.
- Uncheck "Call was answered" for missed calls or voicemails.
- Click Upload & Analyze.
Bulk CSV Import
- Click Download CSV Template and fill it in, matching each row's filename to an audio file you will upload.
- Select the metadata CSV file and up to 50 audio files.
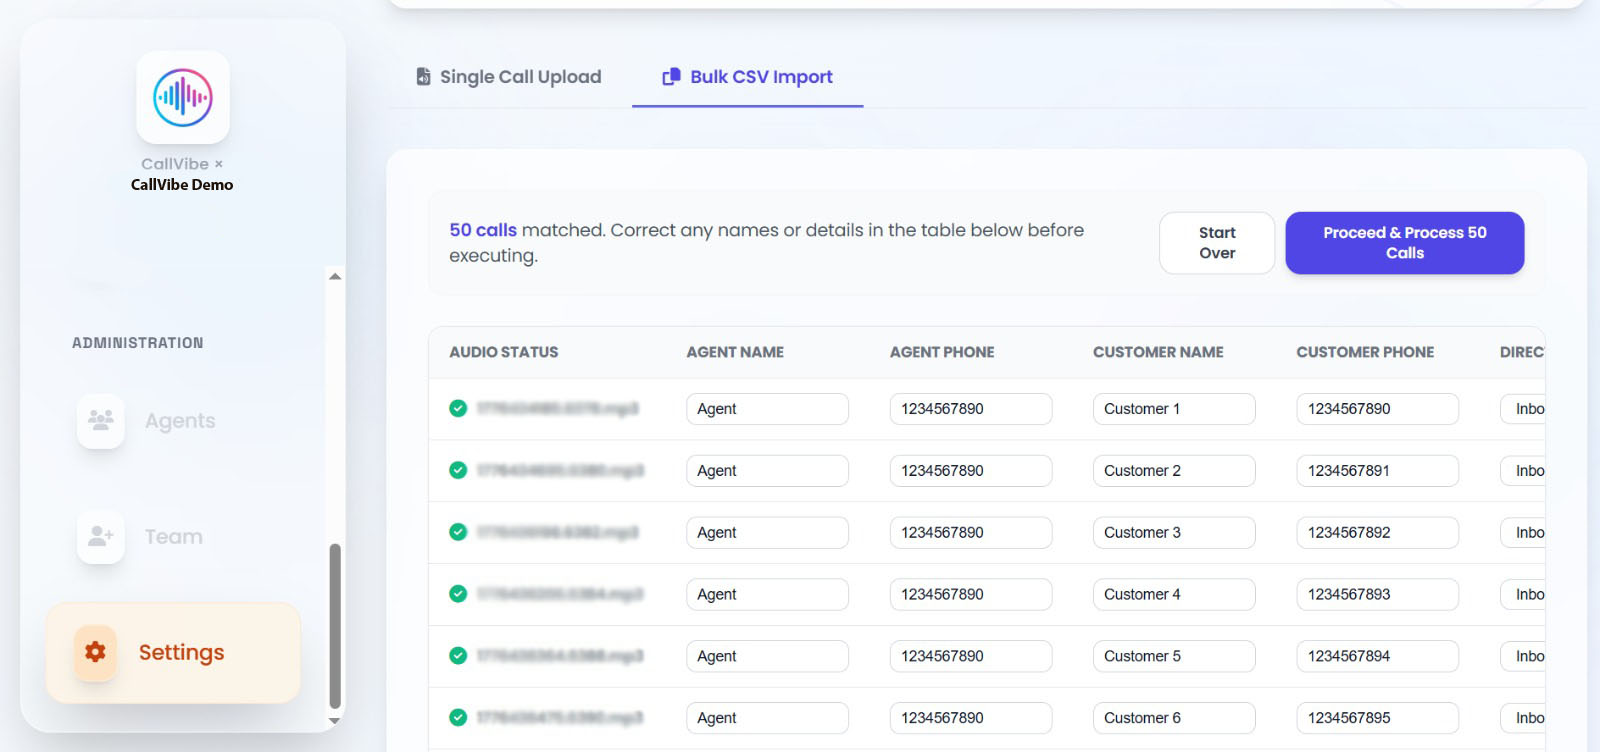
- Click Parse & Review Metadata.
- Correct any names or details in the review table, then click Proceed & Process.
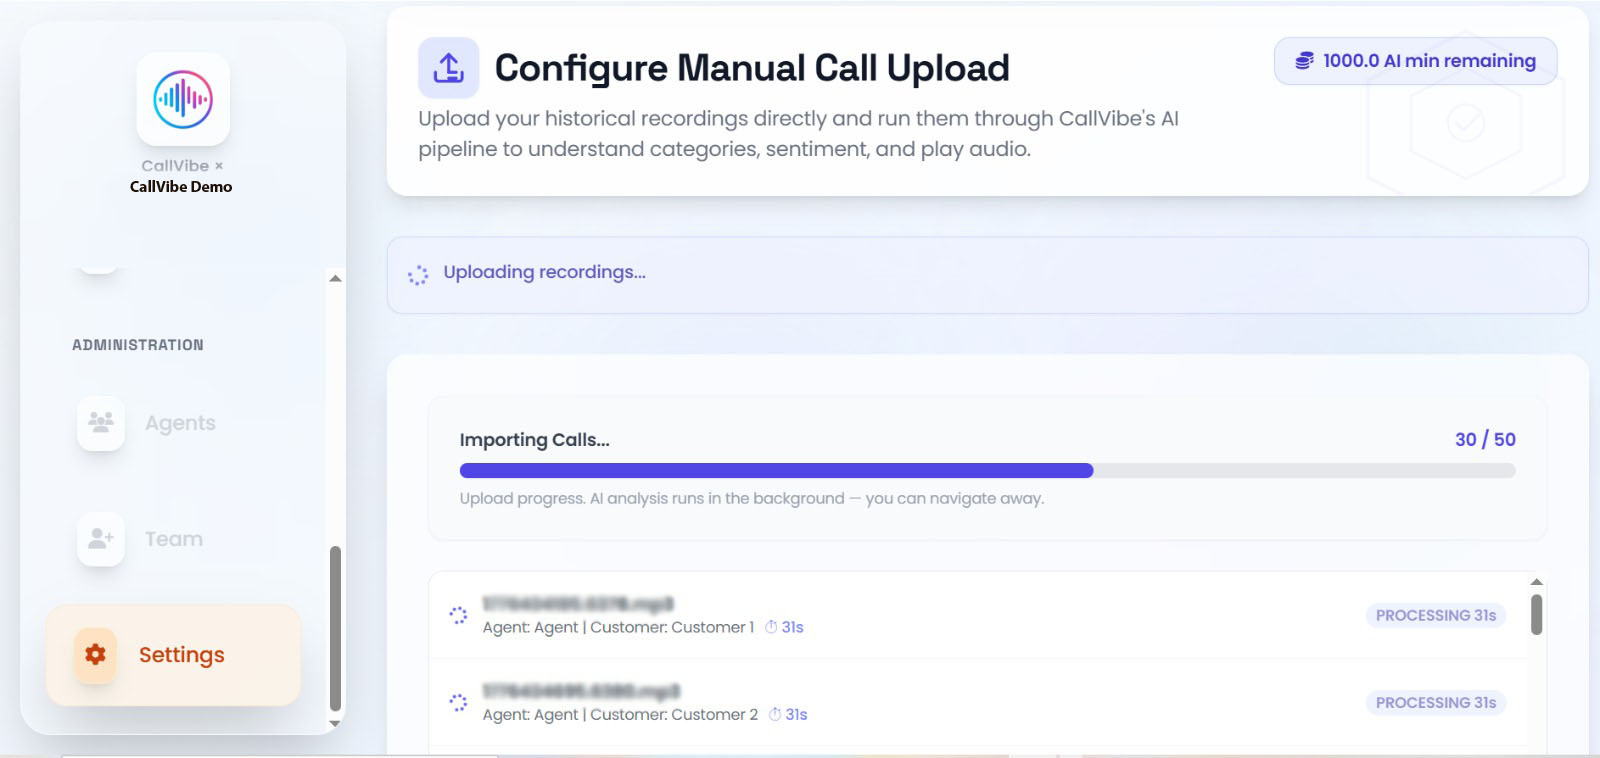
- Recordings upload with concurrent processing; AI analysis continues in the background and can be tracked from the queue status list.
Validation
tip
- Upload status changes to Analyzing, then Completed for each call.
- Processed calls appear in Call Records.
- Failed rows can be retried individually from the completed screen.